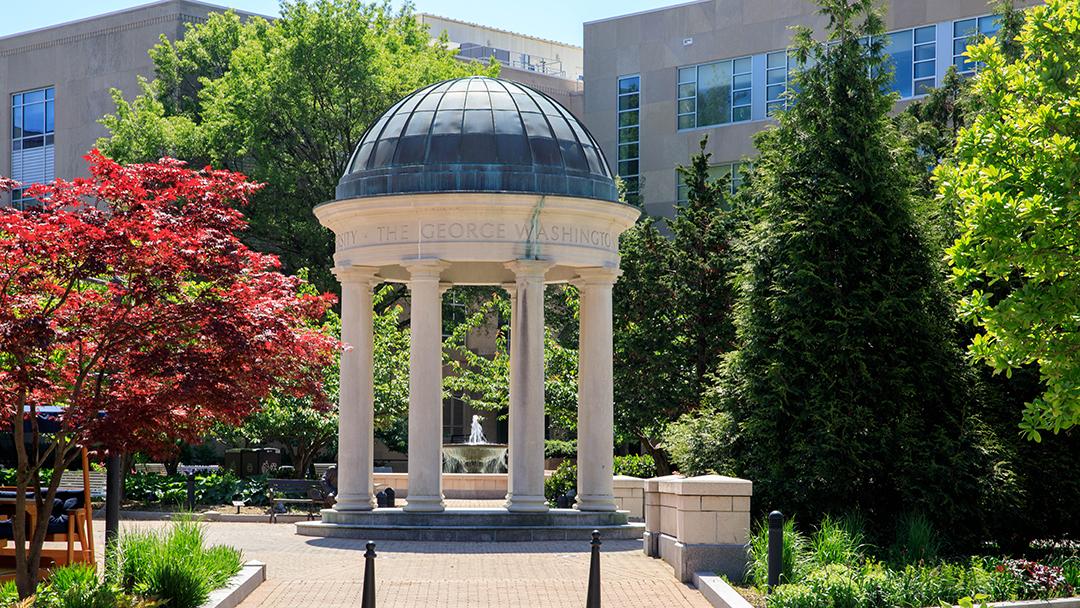
Photo Gallery
Photo Galleries are used to display a series of related photos. They can be added to existing pages like Basic Pages or Articles using the WYSIWYG text editor.
Create a Photo Gallery
Photo Galleries can be created using the Drupal admin menu bar.
- Hover over Content, then Media, then Add Media, then, Gallery
- Name your Photo Gallery
- In the Media Items section use the Select Media button to upload photos or choose photos that have been added to the Media Library
- Click each photo you want added to the library
- Selected photos will appear in a row on the bottom of the Select Media window
- To remove a photo from that row, hover over the photo and click the x button in the top right corner of the image
- Once you have chosen all of the photos for your gallery click Use Selected
- Review the selected photos in the Media Items section and drag to change the order they are displayed
- When the photos are in the correct order click Save to finish your Photo Gallery
Note: Titles or captions added to images will be displayed in the Photo Galley - see the example gallery on this page.
You have now created your Photo Gallery. Next, you will need to add it to the desired page.
Add a Photo Gallery to a Page
Photo Galleries can be easily added to any content type with a WYSIWYG text editor. Follow these steps to add one to a page.
- When editing a page, place your cursor where you want to add the gallery and use the Gallery icon (
) in the WYSIWYG editor toolbar
- Click on the gallery you want to add and then click the Select Media button
- Then click Embed
- Save the page to view your Photo Gallery
Example Photo Gallery


